Regarding household accidents, one of the most common and frustrating mishaps is spilling milk on a mattress. Whether it’s a result of a late-night snack, a clumsy child, or a pet’s mischief, milk stains on a bed can be a real headache. In this blog post, we will explore practical methods to get milk out of a mattress, ensuring that your sleep surface remains clean and fresh. Read on to discover the best techniques for tackling this pesky problem.
How to Remove Milk Stains From A Mattress with These Materials
Now, you need to start somewhere, as planning is one of the critical tasks of anything. Before you embark on the task of removing milk from your mattress, gather the following items:
1. Clean Cloths or Paper Towels:
These will be your first line of defense against the spilled milk. Opt for white clothes to prevent any potential color transfer.
2. Mild Detergent:
Choose a gentle, colorless detergent that doesn’t contain bleach or harsh chemicals. It will be the primary component of your cleaning solution.
3. Warm Water:
You’ll need this to dilute the detergent and create a cleaning solution that’s effective yet safe for your mattress.
4. Hydrogen Peroxide (Optional):
If the milk stain proves to be particularly stubborn, hydrogen peroxide can be a powerful ally. Ensure it’s the standard 3% solution, and do a spot test in an inconspicuous area to ensure it doesn’t harm the fabric.
5. Spray Bottle (Optional):
It can evenly distribute the cleaning solution onto the affected area, ensuring you don’t over-saturate the mattress.
6. Baking Soda (Optional):
Baking soda is a natural deodorizer and can help absorb any lingering milk odors. You may want this on hand for an extra touch of freshness.
Having these materials at your disposal will help you effectively tackle the milk stain on your mattress. Remember to work with care and patience to avoid further damage. Now that you have everything let’s follow the step-by-step guide.
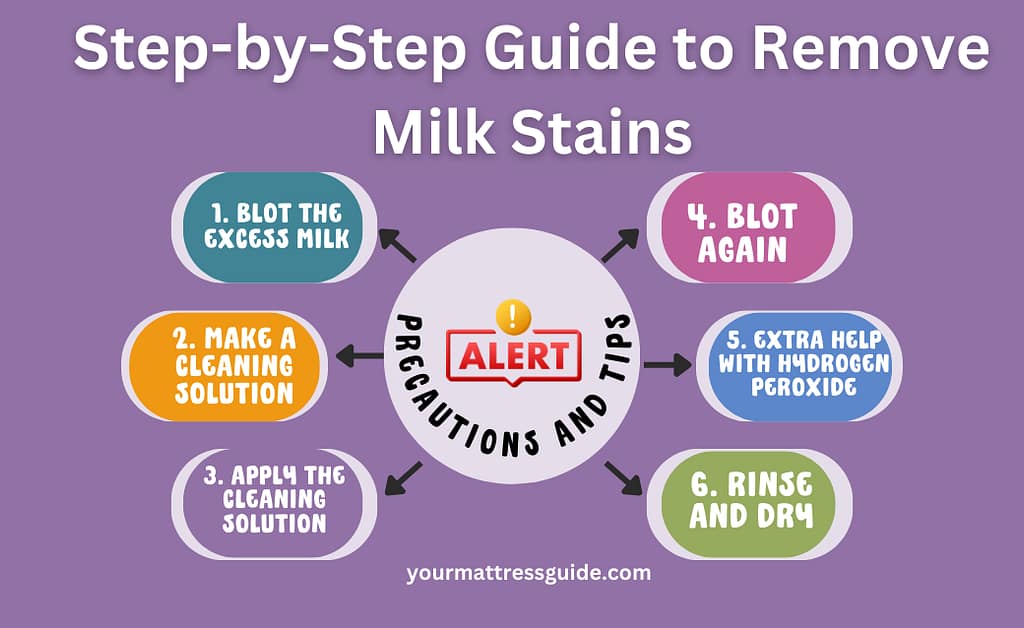
Step-by-Step Guide to Remove Milk Stains from Your Mattress
Dealing with a milk spill on your mattress? Don’t worry, we’ve got you covered with this easy-to-follow guide:
Step 1: Blot the Excess Milk
Start by grabbing a clean cloth or paper towel. Gently press it on the milk spill. Don’t rub, just blot. It helps soak up as much milk as possible.
Step 2: Make a Cleaning Solution
Mix a bit of mild detergent with warm water. It’s like making a gentle cleaning potion! It will be your secret weapon against the milk stain.
Step 3: Apply the Cleaning Solution
Dip a clean cloth into the cleaning solution you just made. Gently dab the stained area. You want to be gentle, like giving a little pat. Don’t pour too much explanation, just enough to cover the stain.
Step 4: Blot Again
Use another clean cloth or paper towel to blot the area once more. It helps lift out the cleaning solution along with the milk stain. Keep patting until it looks better.
Step 5: Extra Help with Hydrogen Peroxide (if needed)
If the stain is stubborn, mix a bit of hydrogen peroxide (the typical 3% kind you find in stores) with water (about half and half). Dab this on the stain, then blot again. But be careful; this step is your secret weapon and should only get used if the color isn’t giving up easily.
Step 6: Rinse and Dry
Now, take a clean cloth dampened with plain water and gently blot the area to remove any leftover detergent or hydrogen peroxide. Then, let your mattress air dry. Make sure it’s scorched before putting your sheets back on.
And there you have it! Your mattress should be looking much better. Remember, be gentle and take your time. You’re like a mattress hero, saving the day from that sneaky spilled milk!
Precautions and Tips
While dealing with a milk spill on your mattress, it’s essential to keep the following precautions and tips in mind:
1. Act Promptly:
Time is of the essence when it comes to cleaning up a milk spill. The longer the milk sits, the harder it will be to remove the stain and odor.
2. Avoid Scrubbing:
Resist the urge to scrub the affected area vigorously. It can push the milk more deeply into the mattress’s fiber, making it more difficult to remove.
3. Test in an Inconspicuous Area:
Before applying any cleaning solution or hydrogen peroxide, test a spot on a small, hidden mattress area to ensure it doesn’t cause discoloration or damage.
4. Use a Gentle Touch:
When blotting the milk, use a gentle pressing motion. It will help absorb as much liquid as possible without damaging the mattress.
5. Don’t Over-saturate:
When applying the cleaning solution, avoid using excessive amounts. Over-saturating the mattress can lead to mold and mildew growth.
6. Allow Sufficient Drying Time:
Ensure the mattress is completely dry before covering it with sheets or blankets. It will prevent moisture from being trapped, which could lead to unpleasant odors or further staining.
7. Consider Using a Mattress Protector:
To prevent future spills from penetrating the mattress, consider investing in a waterproof mattress protector. This extra layer acts as a barrier, safeguarding your bed.
8. Regular Maintenance:
To prolong the life of your mattress, vacuum it regularly to remove dust, dirt, and any allergens. It can also help prevent future stains from settling in.
9. Monitor for Odours:
After cleaning, keep an eye out for any lingering odors. If you notice a scent, a light dusting of baking soda can absorb it.
10. Seek Professional Help if Needed:
If the stain persists or you’re unsure about any step, consider consulting a professional mattress cleaning service.
Following these precautions and tips, you’ll get better equipped to effectively clean a milk spill from your mattress without causing further harm. Now that you know the necessary precautions, let’s move forward with the next step in the process.
If the natural remedies mentioned above fail to remove the milk stain, consider using a specialized mattress cleaner. These products get specifically formulated to tackle stubborn stains and odors. Follow the instructions provided by the manufacturer to ensure safe and effective use. Also, check out more about Can We Get Bed Bugs From A New Mattress?
What Are the Common Mistakes to Avoid
When it comes to removing milk stains from a mattress, there are several common mistakes that people often make. Avoiding these pitfalls will help ensure a successful cleaning process:
1. Using Hot Water:
Using hot water to clean the milk stain may seem like a good idea, but it can set the protein in the milk, making it more difficult to remove. Stick to warm water instead.
2. Neglecting to Blot First:
Skipping the initial blotting step and applying a cleaning solution can spread the milk and push it deeper into the mattress fabric. Always start by blotting gently to remove excess liquid.
3. Using Harsh Chemicals:
Avoid using strong chemicals or bleach on your mattress. These can damage the fabric and potentially harm your health. Stick to mild, gentle detergents.
4. Over-saturating the Mattress:
Pouring too much cleaning solution onto the mattress can lead to over-saturation, which may result in mold or mildew growth. Use a spray bottle or a clean cloth to apply the solution evenly.
5. Skipping the Spot Test:
Please perform a spot test before applying any cleaning solution or hydrogen peroxide to avoid unintended damage or discoloration of your mattress.
6. Rubbing Vigorously:
Rubbing aggressively at the stain can damage the mattress fabric and potentially spread the milk further. Always use a gentle blotting motion.
7. Not Allowing Sufficient Drying Time:
Rushing the drying process can lead to lingering moisture, creating a breeding ground for mold and mildew. Ensure the mattress is thoroughly dry before using it again.
8. Ignoring Lingering Odours:
If you can still smell milk after the cleaning process, it’s essential to address it promptly. Ignoring odors can lead to an unpleasant sleeping environment.
9. Neglecting Regular Maintenance:
Skipping routine cleaning and maintenance of your mattress can make future stain removal more challenging. Regular vacuuming and spot cleaning can help prevent long-term damage.
10. Using Excessive Force
Applying too much pressure when blotting or using abrasive materials can damage the mattress surface. Always handle the cleaning process with a gentle touch.
By avoiding these common mistakes, you’ll increase the likelihood of successfully removing the milk stain from your mattress without causing further harm. Now that you know what to avoid, let’s continue with the rest of the guide. Also, Check Our article on What Can I Spray On Mattress To Kill Fleas
Conclusion:
Learning how to remove milk stains from a mattress can be a challenging task, but with the proper techniques and prompt response, you can restore your bed to its former glory. Remember to act quickly, use natural cleaning remedies, and consider specialized mattress cleaners if necessary. By taking preventive measures, you can minimize the chances of future spills and keep your mattress fresh and clean for years. If you have kids and you want to know about cleaning urine from the mattress. Check our detailed blog on How To Clean Urine From Mattress for a better understanding of the process. Sleep tight!
How to Remove Milk Stains from a Mattress FAQs
How do you get white stains out of a mattress?
Spray the stain with one cup of warm water, one cup of white vinegar, and one teaspoon of dish soap in a spray bottle. Give it a good 15–20 minutes to sit. To remove the remaining stain, dab the area once more with a fresh, moist cloth. After covering the damaged area with baking soda, leave it for at least eight hours.
What is the best stain remover for mattresses?
Combine equal amounts of water, hydrogen peroxide, and liquid dish soap. If desired, add essential oils. In a spray container, shake well. Blot any damp stain.
Does baking soda remove stains on the mattress?
After applying baking soda all over the discoloration, leave it for four to six hours. (Optimally, you could leave it running all night.) After it dries, vacuum your mattress to remove any remaining baking soda.